Create an Agent from Scratch
Create a blank VAW Native agent with just an avatar and a name, see the defaults it starts with, and learn the order to set it up.
Written By voiceaiwrapper
Last updated 26 days ago
Create a blank VAW Native agent when you already know what it should say, or when there's no business website for the AI Agent Builder to read. You only pick an avatar and a name. Everything else starts on working defaults, so you can test the agent the moment it's created and then shape it step by step.
Creating the agent takes under a minute. Setting it up properly usually takes longer, mostly writing the prompt.
Applies to: VAW Native Pods. Creating an agent is free. Calls and chats with it, including test calls, use AI credits.
Step 1: Create the agent
- In the sidebar, open Agents.
- Click New agent. If you have no agents yet, you can also click Create agent on the empty page.
- Choose Start blank.
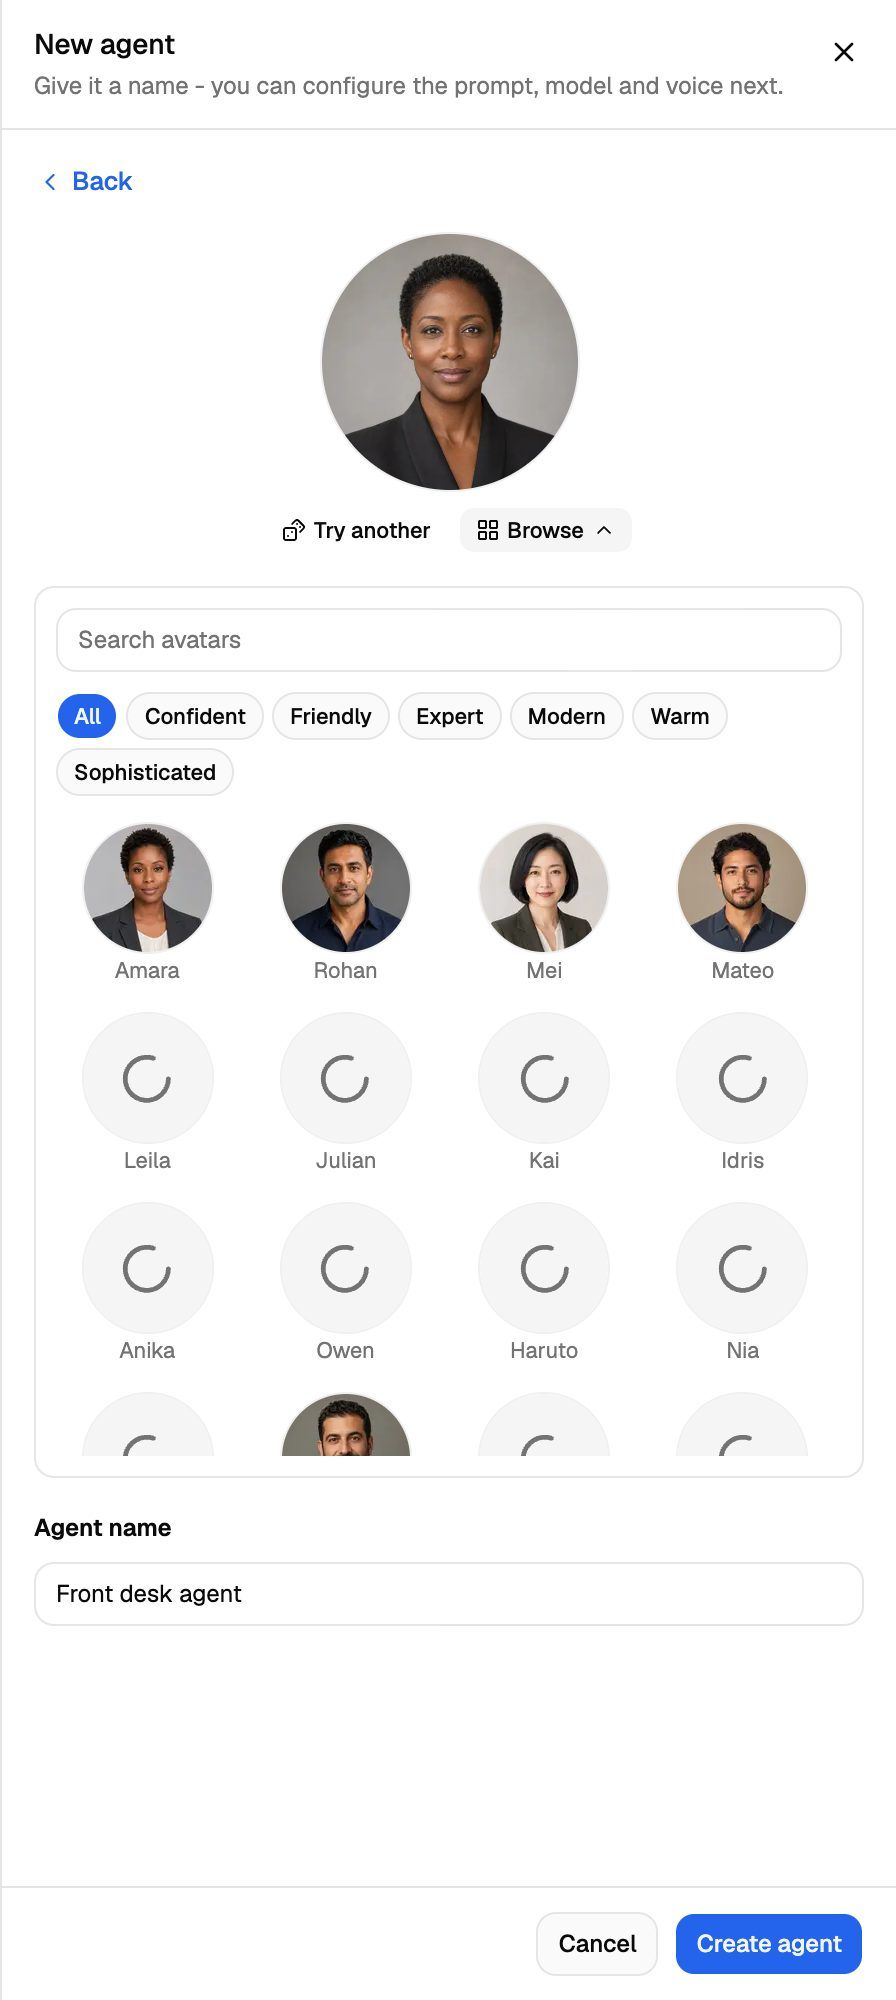
- Pick an avatar. A random one is chosen for you. Click Try another for a different random avatar, or Browse to pick from the full set.
- Enter a name in Agent name. The avatar's name is filled in for you and changes with the avatar until you type your own.
- Click Create agent.
You'll see "Agent created", and the agent's page opens on the Agent Settings tab.
Use a name that says what the agent does, like "Front desk agent" or "Appointment reminders". It appears in Call Logs, campaigns and the call data your prompt can use.
What a new agent starts with
A new agent is ready for a test call straight away. These are its starting settings:
A new agent has no knowledge base, no other tools and no phone number.
The 5-minute maximum call length ends every call at 5 minutes, even if the caller is still talking. If your calls run longer, such as for intake or support, raise it on the Call Settings tab before going live.
Step 2: Set it up in this order
Work through the agent's tabs roughly in this order. Each step builds on the one before. After each change, click Save changes.
- Write the prompt and greeting on Agent Settings. This decides most of how the agent behaves. See Write the Prompt and Greeting.
- Choose the language. Pick a specific language if all your callers speak one. See Choose the Agent's Language.
- Choose a voice that suits the language and the brand. See Choose a Voice for Your Agent.
- Choose an AI model. The default works well for most agents. Compare quality and credits per minute. See Choose an AI Model.
- Check the call settings: maximum call length, recording and silence timeout. See Call Settings: Recording, Silence Timeout and Maximum Call Length.
- Add knowledge and tools on the Knowledge and Tools tabs if the agent needs to answer detailed questions, transfer calls, send texts or book appointments. See Attach Knowledge to Agents and Choose an Answering Mode and Attach Tools to an Agent.
- Set up analysis on the Analysis tab so each call gets the summary and success rule you care about. See Define What Counts as a Successful Call.
- Test it with a web call, a phone call or a chat. See Test Your Agent: Web Calls, Phone Calls and Chat.
- Put it to work from the Deploy tab: a phone number, a widget or a campaign. See Put Your Agent to Work: The Deploy Tab.
Make one change at a time and test after each. It's much easier to tell what helped.
Frequently asked questions
Can I copy an existing agent or start from a template?
Can I copy an existing agent or start from a template?
Not yet. Each new agent starts from blank or from the AI Agent Builder. To reuse a prompt, copy it from one agent's Prompt Instructions and paste it into the new one.
Should I use the AI Agent Builder instead?
Should I use the AI Agent Builder instead?
If the agent works for a business with a website, the builder is usually faster. It reads the business website, asks six questions and writes the prompt, greeting, rules and call scoring for you. It uses credits. See Create an Agent with the AI Agent Builder.
Can I change the avatar or name later?
Can I change the avatar or name later?
Yes. Change the name in Agent name on the Agent Settings tab, and click the avatar at the top of the agent's page to change it. Then click Save changes.
Related articles
Was this helpful?
Still need help? Share an idea