Brand Your Portal: Name, Logo, Meta and Theme
Add your brand name, logo, browser tab title, search description and default light or dark theme to the client portal.
Written By voiceaiwrapper
Last updated 26 days ago
Put your own name and logo on the client portal, so clients see your brand from the login page onwards. You also set what appears in the browser tab and in search results, and whether the portal opens in light or dark mode.
It takes about 5 minutes once your custom domain is connected.
Available on: plans that include Custom branding. Without it, saving shows a message asking you to upgrade your plan.
Before you start
- Connect your custom domain first. Until you add one, the Branding tab shows "Please add a subdomain to add brand assets." and its fields are locked. See Connect Your Custom Domain.
- Have your logo ready: a square PNG or JPG, at least 256×256 pixels and no larger than 1 MB.
What each setting does
Brand Name, Meta Title and Meta Description are all required. If one is empty, you'll see a message such as "Brand name is required" and can't save.
Step 1: Upload your logo
- In the sidebar, open Client Portal → Portal Configuration.
- Open the Branding tab.
- Click the Upload logo box and pick your file.
The logo uploads as soon as you pick it, and you'll see "Logo successfully changed." You don't need to click save for the logo.
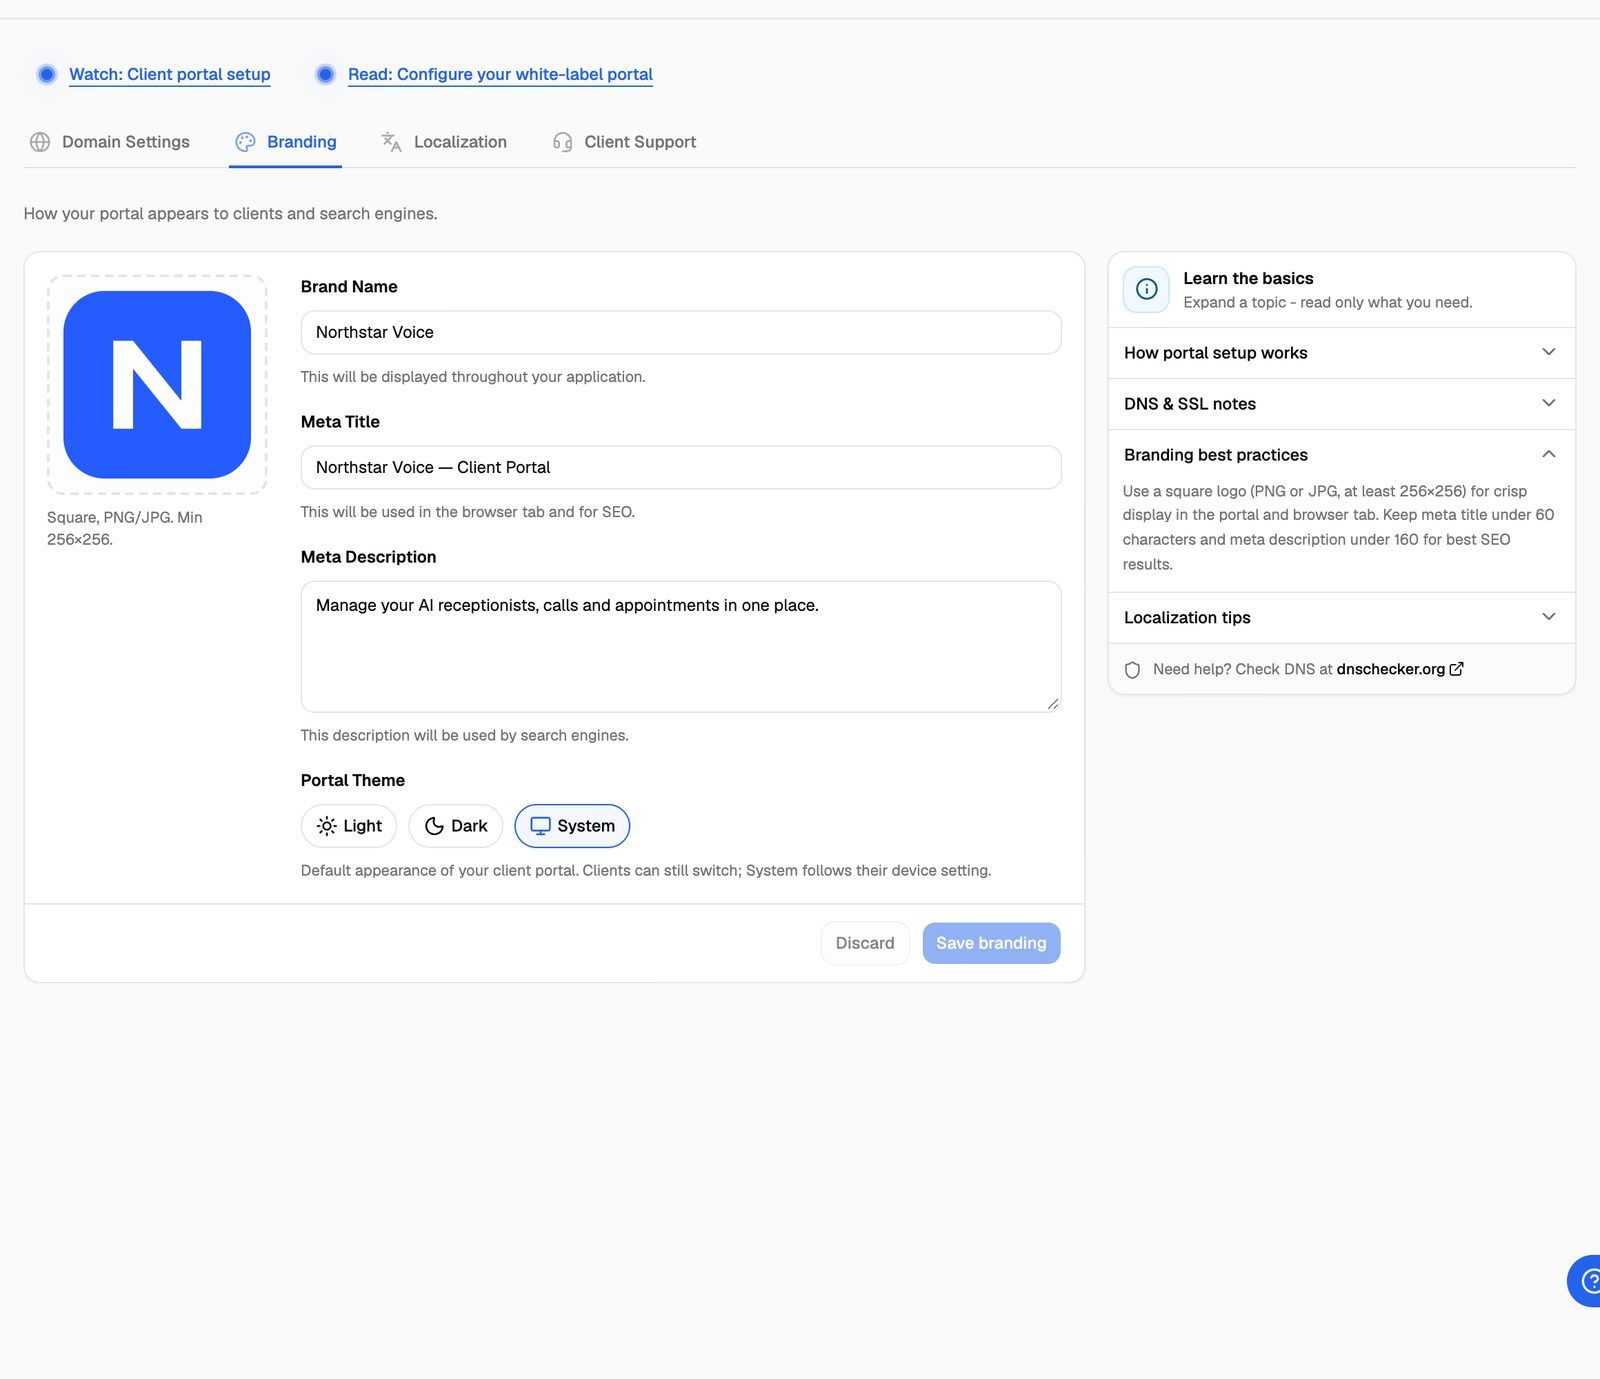
To replace the logo later, click the logo and pick a new file.
The same image is used as the browser tab icon, where it's shown very small. A simple, square mark (not a wide logo with text) stays readable at both sizes.
Step 2: Add your brand name and meta details
- In Brand Name, type the name clients know you by.
- In Meta Title, type the text for the browser tab, such as
Acme Voice Portal. - In Meta Description, write one or two sentences describing the portal.
Step 3: Choose the portal theme
Under Portal Theme, pick the look clients get when they first open the portal:
- Light or Dark always opens the portal in that mode.
- System follows the setting on each client's device. This is the default until you change it.
Clients can still switch with Dark Mode in their profile menu. Their own choice wins on that browser from then on.
Step 4: Save
Click Save branding. You'll see "Branding updated successfully." Discard puts back the last saved values.
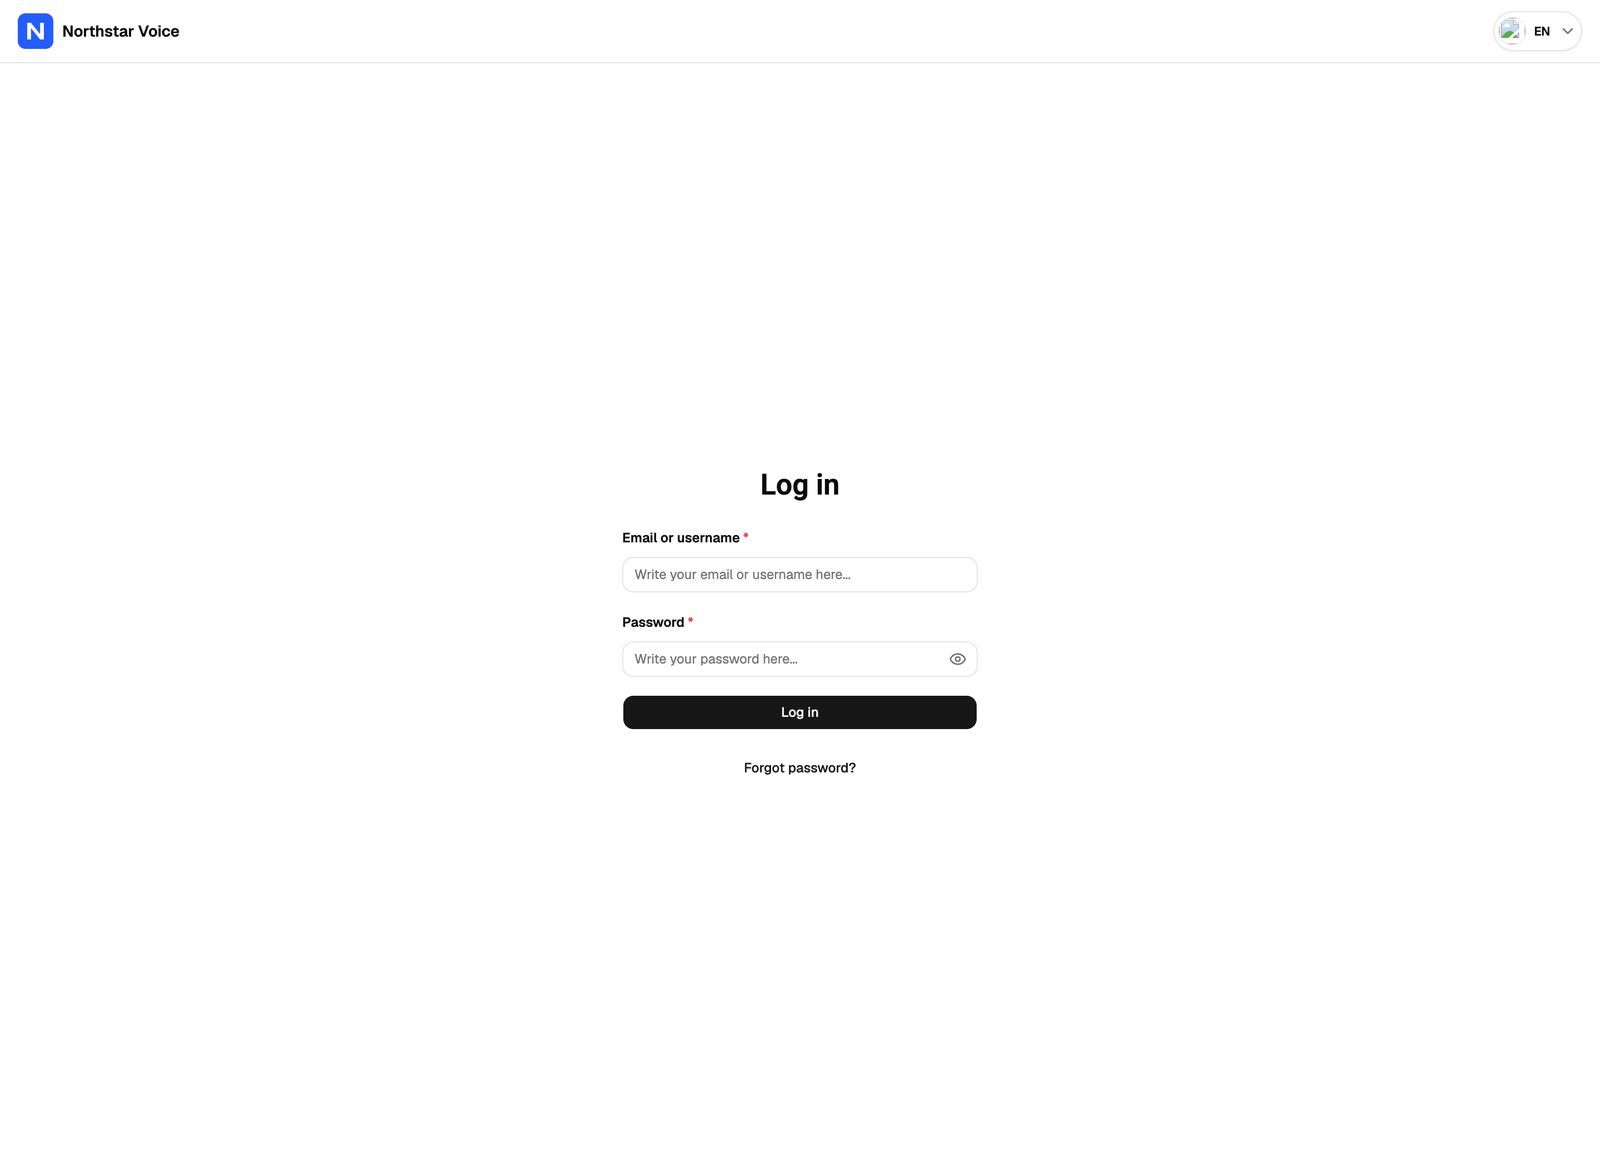
Open your portal in a private browser window to check the result. The tab title, logo and theme should all show your brand.
Troubleshooting
The fields on the Branding tab are greyed out.
The fields on the Branding tab are greyed out.
Branding needs a domain. While there isn't one, the tab shows "Please add a subdomain to add brand assets." and you can't type in the fields or upload a logo. Add your subdomain on the Domain Settings tab first; the fields unlock as soon as it's added.
I see "You've discovered a premium feature! Upgrade your plan to access this and other advanced features."
I see "You've discovered a premium feature! Upgrade your plan to access this and other advanced features."
My logo won't upload.
My logo won't upload.
Check the file:
- It must be PNG or JPG. Other formats show "Only PNG, JPG, and JPEG images are allowed."
- It must be 1 MB or smaller. Larger files show "File cannot be larger than" followed by the limit.
The portal still shows the old title, logo or theme.
The portal still shows the old title, logo or theme.
Reload the page. Browsers can keep showing an old tab icon for a while, so check in a private window too. If a client switched the theme themselves, their choice keeps overriding your default on that browser.
Can I change the portal's colours?
Can I change the portal's colours?
No. The portal has no brand colour setting. You can set colours for each web widget in a campaign's widget settings.
Related articles
Was this helpful?
Still need help? Share an idea